CS2 Mirage Smoke Lineups Valve's 6 official CS2 Mirage smoke lineups (Window, Connector, Cat, CT and more), each on the radar with where to stand, where to aim, how to throw and a setpos line to practise.
Connector smoke Cat smoke CT smoke T Ramp smoke Apts smoke T Ramp molotov T Start → Sniper's Nest smoke Top of Mid smoke Top of Mid → Sniper's Nest smoke Sniper's Nest → Top of Mid molotov Bombsite A → Middle flash T Ramp molotov Truck → Apartments HE Top of Mid → Connector molotov Middle smoke T Start → Sniper's Nest smoke T Ramp → Bombsite A smoke Connector smoke Side Alley → Top of Mid flash Top of Mid → Connector flash T Start → Sniper's Nest smoke T Start → Sniper's Nest smoke Jungle → Unnamed spot flash Top of Mid → Connector flash Bombsite B → Apartments molotov Bombsite B → Apartments molotov Top of Mid → Connector molotov Side Alley → Middle flash Bombsite B → Apartments molotov T Ramp molotov Sniper's Nest → Top of Mid molotov Truck → Apartments molotov Palace Alley → Bombsite A molotov Apartments → Bombsite B flash Underpass → Sniper's Nest smoke Middle flash T Start → Sniper's Nest smoke T Start → Sniper's Nest smoke Sniper's Nest → Top of Mid molotov Truck → Apartments smoke Palace Alley → Bombsite A smoke Connector smoke Top of Mid → Sniper's Nest smoke Top of Mid → Sniper's Nest smoke Palace Alley → Bombsite A smoke Top of Mid → Unnamed spot flash T Start → Top of Mid smoke T Start → Sniper's Nest smoke Top of Mid → Sniper's Nest HE Connector smoke Bombsite B → Apartments HE T Start → Sniper's Nest smoke Jungle → Bombsite A smoke Back Alley → Underpass flash T Start → Sniper's Nest smoke Side Alley → Middle flash Bombsite A smoke T Start → Sniper's Nest smoke T Ramp smoke Bombsite A → T Ramp HE Sniper's Nest → Unnamed spot flash Underpass → Connector smoke Bombsite A → Middle flash Top of Mid → Connector molotov Top of Mid → Sniper's Nest HE Sniper's Nest HE Apartments → Truck molotov T Start → Catwalk smoke T Start → Sniper's Nest smoke Palace Alley → Bombsite A flash Back Alley → Underpass flash Top of Mid → Unnamed spot smoke T Start → Catwalk smoke Top of Mid → Middle molotov Top of Mid → Middle molotov Bombsite B → Apartments smoke Top of Mid → Connector HE Bombsite B → Apartments molotov Middle → Ladder molotov Top of Mid → Middle flash Palace Alley → Bombsite A smoke Jungle → Bombsite A smoke Sniper's Nest → Top of Mid molotov Truck → Apartments molotov Back Alley → Shop smoke Sniper's Nest HE T Ramp molotov Bombsite A → Middle smoke T Start → Catwalk smoke Palace Alley → Unnamed spot flash T Start → Top of Mid smoke Top of Mid → Connector molotov Shop → Apartments smoke Side Alley → Middle flash Top of Mid → Connector molotov Bombsite B → Apartments smoke Side Alley → Top of Mid flash Top of Mid → Connector HE Sniper's Nest → Unnamed spot flash Underpass → Connector molotov Middle smoke T Ramp flash Underpass → Middle smoke Bombsite A smoke Side Alley → Middle flash Connector smoke T Start → Catwalk smoke Apartments → Bombsite B flash Palace Alley → Bombsite A smoke Bombsite A → Connector smoke Jungle → T Ramp HE Apartments → Truck molotov Back Alley → Apartments flash Side Alley → Bombsite A smoke Side Alley → Middle flash Bombsite A → T Ramp HE Palace Alley → Bombsite A molotov Underpass → Unnamed spot smoke Top of Mid → Connector molotov Bombsite A → Middle flash Jungle → Palace Alley HE Back Alley → Bombsite B flash Bombsite A → Middle flash Jungle → Bombsite A smoke T Start → Catwalk smoke Sniper's Nest → Underpass flash T Ramp → Bombsite A molotov T Start → Catwalk smoke Truck → Apartments smoke Top of Mid → Sniper's Nest smoke T Ramp → Bombsite A flash Bombsite B → Apartments smoke Bombsite B → Unnamed spot molotov Truck → Apartments smoke Top of Mid → Middle molotov Back Alley → Shop smoke Connector → Catwalk molotov Connector → Underpass flash Connector smoke Unnamed spot flash Unnamed spot flash Back Alley → Underpass flash T Start → Top of Mid smoke Bombsite A → T Ramp smoke T Start → Catwalk smoke Sniper's Nest → Unnamed spot molotov Apartments → Truck molotov Connector → Underpass molotov Top of Mid → Middle molotov Sniper's Nest → Middle molotov Top of Mid → Jungle smoke Apartments → Bombsite B flash Bombsite A → Middle flash Top of Mid → Middle flash Palace Alley → Bombsite A flash Truck → Apartments smoke Bombsite A → Middle smoke Sniper's Nest HE Palace Alley → Bombsite A smoke Bombsite A → T Ramp smoke Catwalk → Unnamed spot flash Truck → Apartments molotov T Start → Sniper's Nest smoke Unnamed spot flash Connector → Catwalk molotov Bombsite A → Middle flash Apartments → Bombsite B HE Top of Mid → Bombsite A smoke Palace Alley → Bombsite A smoke Apartments → Truck HE Truck → Apartments HE T Start → Top of Mid smoke T Start → Sniper's Nest smoke Palace Alley → Unnamed spot flash Sniper's Nest → Top of Mid molotov Side Alley → Top of Mid flash Bombsite A → T Ramp molotov Middle → Underpass molotov Connector → Underpass molotov Palace Alley → Bombsite A smoke Top of Mid → Connector molotov Apartments smoke Top of Mid → Connector HE Bombsite B → Shop smoke Palace Alley → Bombsite A smoke Bombsite A → Middle flash Middle flash Sniper's Nest → Underpass HE Sniper's Nest → Catwalk smoke Bombsite B → Apartments molotov Palace Alley → Unnamed spot smoke Palace Alley → Bombsite A molotov Bombsite A smoke Unnamed spot flash Bombsite B → Unnamed spot molotov Truck → Unnamed spot HE Bombsite B → Apartments smoke Back Alley → Bombsite B flash Bombsite B → Apartments flash Bombsite A → Middle smoke Back Alley → Apartments flash Apartments → Truck molotov Sniper's Nest HE Bombsite A → T Ramp HE Middle smoke Sniper's Nest → Middle molotov Top of Mid → Unnamed spot smoke Bombsite B → Apartments molotov Truck → Apartments HE Top of Mid → Middle flash Bombsite A smoke Bombsite B → Apartments flash Bombsite A → Unnamed spot flash Unnamed spot flash Bombsite B → Apartments molotov Bombsite A → Unnamed spot flash Apartments molotov Back Alley → Apartments flash Palace Alley → Bombsite A molotov Bombsite A → T Ramp smoke Bombsite B → Apartments molotov Sniper's Nest → Top of Mid molotov Jungle → Unnamed spot flash Bombsite A → Jungle molotov T Start → Top of Mid smoke Back Alley → Apartments flash Top of Mid → Sniper's Nest smoke Jungle → T Ramp flash CT Start flash Underpass → Connector smoke
← → next lineup · F filters
100%
1 / 231
Window smoke Valve official
Stand on the gold ring
Jump throw · Left click
Valve’s own lineup, from the grenade guide shipped in CS2.
Stand Stand in corner against stairs.Aim Aim at second shape from the left on inner rug pattern. Left Click Jump Throw.setpos 1422.95 -55.97 -167.97;setang -20.41 -168.49 0Copy
Early days: the 225 lineups from demos come from 5 Mirage demos (3 pro matches), and a throw shows once it was seen twice. Every pro demo you add grows the library.
How to practise these Mirage lineups Start a private match on Mirage (offline with bots, or your own server), open the developer console and enter sv_cheats 1. Then copy a lineup's line and paste it into the console: setpos puts you on the throw spot and setang turns you to face the aim point, so all that is left is the throw itself.
The official lineups are Valve's own: the positions, angles and instructions come straight from the grenade guides the game ships for Mirage, not from community guides.
The lineups from match demos are read from the demos uploaded to our demo viewer : every grenade's exact release spot and view angle, grouped when the same throw lands in the same place again. They show how a lineup is really thrown (standing, running or jumping, and which click), so the line puts you on the spot and the throw type tells you the rest. The library grows with every demo. The names of the places they land on are on the Mirage callouts map .
Lineups for other maps 

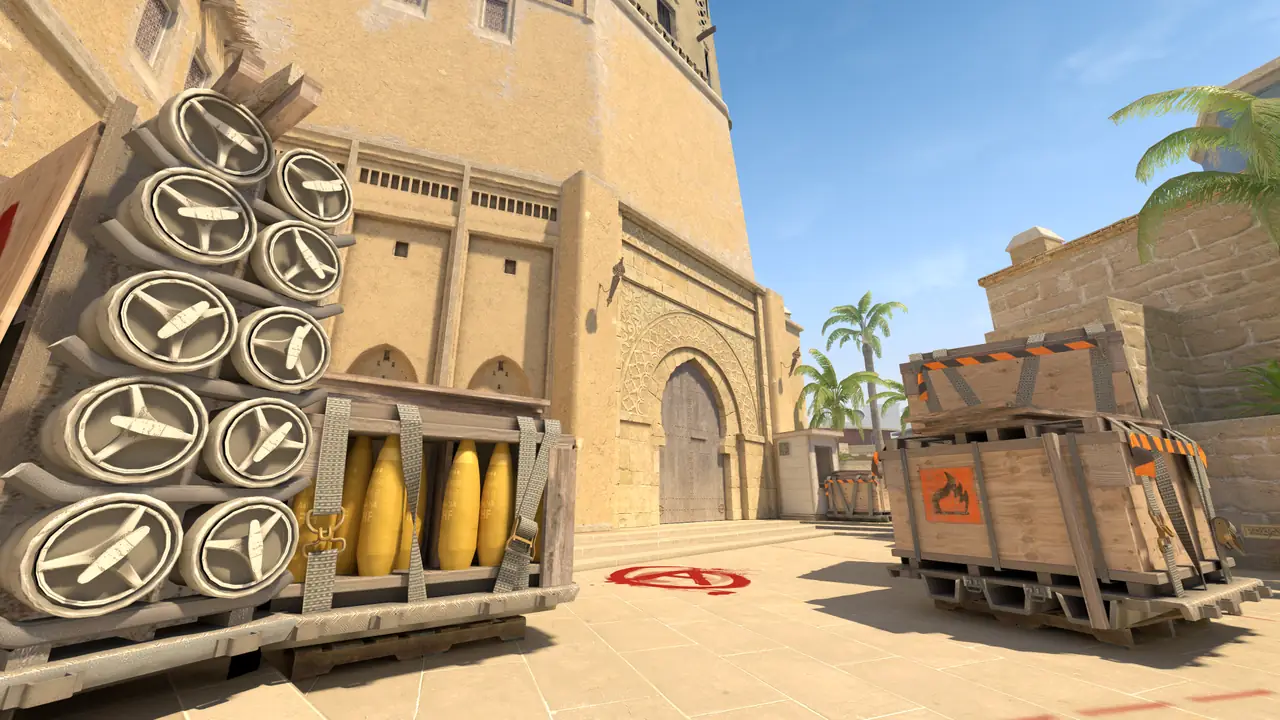

 Dust II
 Inferno
 Nuke
 Ancient
 Anubis
 Overpass
 Train
 Cache